
How to Get the MiniDV Look on iPhone
The MiniDV look isn't a timestamp overlay. Here's what actually creates it — 4:3 framing, interlaced motion, tape-era chroma, MPEG audio — and how to shoot it on iPhone in five minutes.
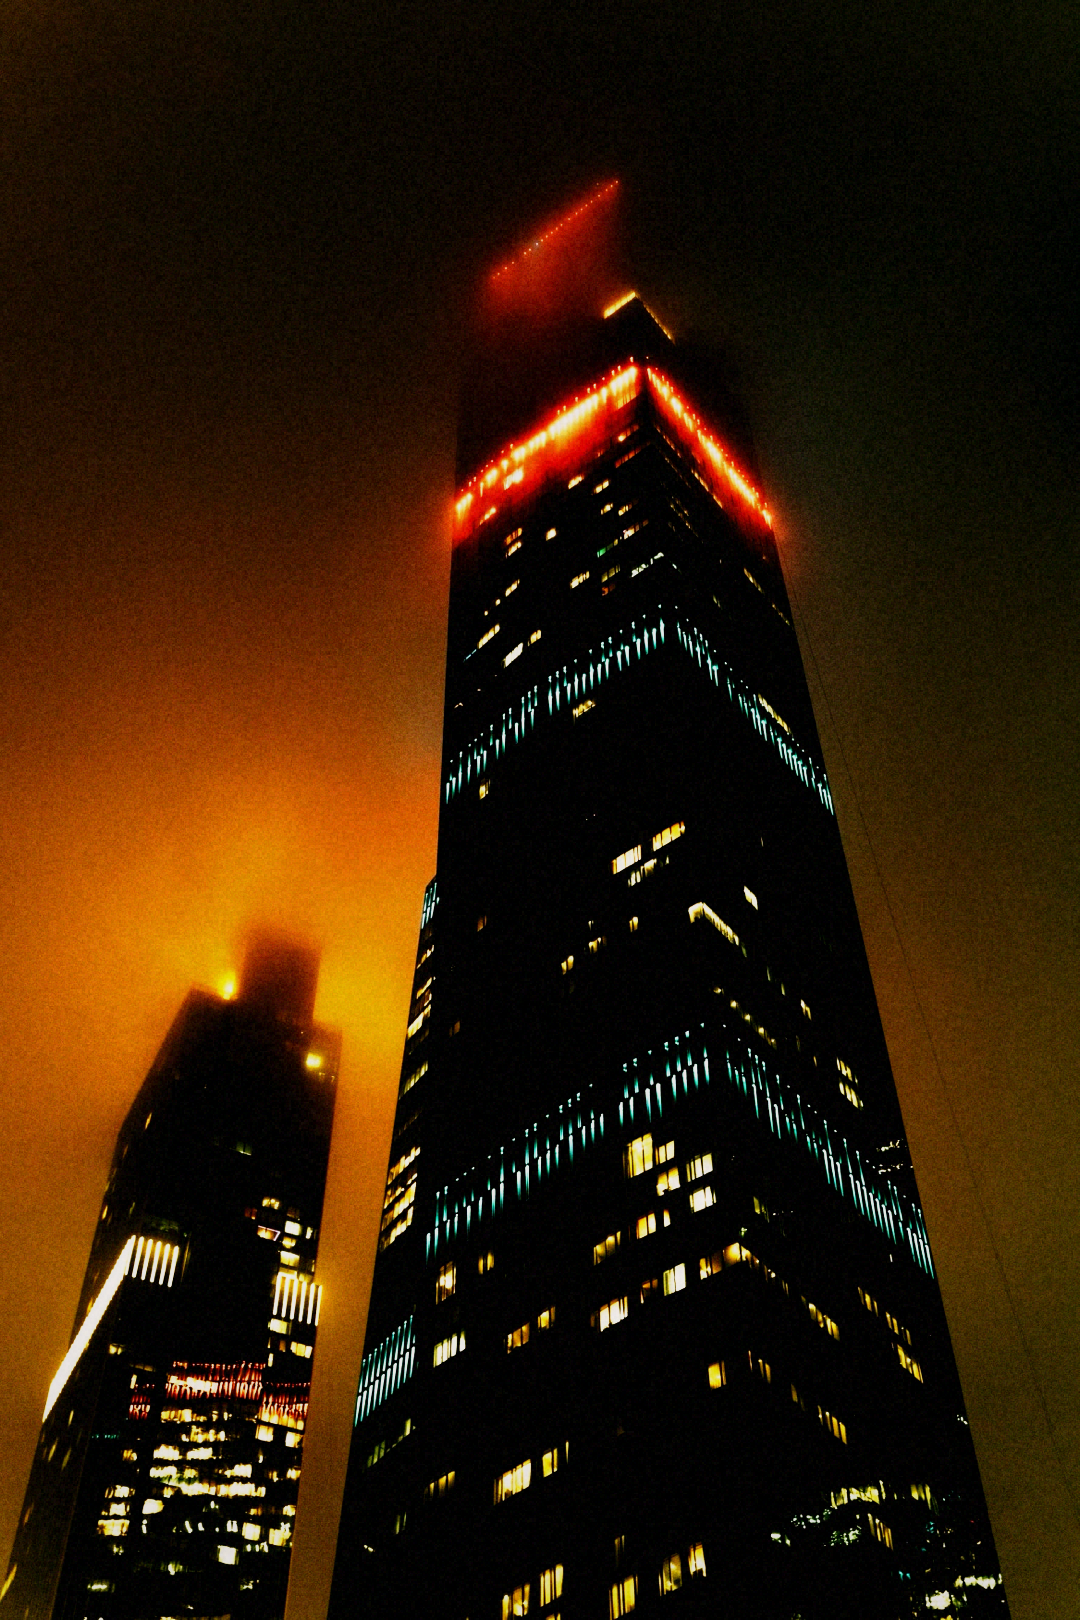
What MiniDV actually looked like
MiniDV was a digital tape format used on consumer and prosumer camcorders from roughly 1995 to 2010. The look wasn't a filter. It came from real characteristics of the format:
- Aspect ratio. Consumer DV shot standard-definition 4:3. HDV added 16:9 HD (1440×1080 anamorphic, upscaled to 1920×1080 on display).
- Motion. Recorded interlaced (60 fields per second, 30 frames), giving the specific "video" motion cadence — softer than progressive, more responsive than film. Playback on modern displays makes it look "smooth but not too smooth."
- Chroma subsampling. Consumer DV is 4:1:1 — meaning the chroma (colour) channel has one-quarter the horizontal resolution of luma. This produces the characteristic soft, bleeding colour edges. HDV moved to 4:2:0 (better) but consumer DV stayed 4:1:1 to the end.
- GOP compression. Both DV and HDV use motion compensation. Under heavy motion, the compressor gives up and you see brief macroblocking — the "chunky" look that spikes when someone runs past the camera.
- Limited dynamic range. Tape-era CCDs blew highlights and crushed shadows. Modern iPhones do neither by default.
- Audio. HDV shipped MPEG-1 Layer II at 384 kbps — cleaner than earlier tape formats, with a specific "swishy highs" character from the 32-band birdie gate. Consumer DV used 32 kHz / 12-bit audio, which sounds thinner and picks up mains hum and zoom-servo whine that a real camera picked up too.
None of this is a colour filter. All of it is capture behaviour.
The essential characteristics
If you're making footage look like MiniDV, hit these:
- Framing. 4:3 for consumer DV, 16:9 for HDV. Compose for the box you're using.
- Motion cadence. Interlaced or field-like. Progressive-only footage reads as modern regardless of colour treatment.
- Chroma soft edges. Especially where warm and cool colours meet — a red shirt against a blue wall should show visible chroma bleed at the seam.
- Tape artifacts. Occasional dropout smear, macroblocking under motion, GOP artifacts when the camera can't compress fast enough.
- Audio. Bandlimited (roughly 40-16000 Hz for HDV, narrower for DV), with some mechanical hum or servo whine if you can add it convincingly.
- Period-appropriate handling. Real DV came from a camera someone was holding, aiming, zooming. Static tripod shots read as modern; hand-held zoom pushes read as authentic era.
The fast method — Afterhours
The fastest credible MiniDV look on iPhone is to shoot with a camera simulation that runs the tape signal chain live.
For HDV (1080p 16:9): Use HDV-2000. It simulates a Canon VIXIA-class MiniDV HDV deck. 1080p 16:9 at 30fps, MPEG-1 Layer II audio, interlace comb 0.75, GOP dropout smear 0.25, chroma bleed 0.6. Ships Sony NightShot IR-green tint and B&W Picture Effect toggles because real HDV Handycams shipped both. Video only, 60-second clip cap.
For consumer DV (SD 4:3 with fisheye party character): Use DV-90. MiniDV consumer camcorder with a screw-on fisheye adapter locked on. 4:1:1 chroma smear tuned heavier than HDV (because DV was 4:1:1), 32 kHz / 12-bit audio with mains hum and zoom-servo whine. Video only, hand-held party-cam ergonomics. Free camera.
For Hi8 / pre-MiniDV era: NS-8 is the Sony DCR-TRV-class Hi8 Handycam. Older than MiniDV but same physical era; ships the NightShot IR signature that brightens warm scenes past true luminance.
All three render the look live in the viewfinder — no filter step. Press record, get MiniDV.
The manual method
If you want to build the look in post rather than at capture:
- Downscale. Export at 720×480 (NTSC DV) or 1440×1080 (HDV), then rescale to your final delivery. This forces real resolution loss.
- Interlace. Apply a real interlace filter — not a "scanline overlay." Your NLE should have this natively.
- Chroma bleed. Reduce chroma resolution (4:1:1 for DV, 4:2:0 for HDV) via a colour-space downsampling filter.
- Colour grade. Tungsten-cool WB shift, slight crush, gentle highlight rolloff. Don't push too hard — real DV wasn't heavily graded.
- Grain. Structured, motion-responsive, not a still overlay. The grain should shift with the frame, not sit on top.
- Audio. Bandlimit to roughly 40-16000 Hz. Add a low mains-hum hum layer if the source is clean.
- Motion. Do not skip this. If your source is 60fps progressive, convert to interlaced 30fps. Progressive-only footage will never read as MiniDV regardless of colour work.
The manual method takes 30-60 minutes per clip and requires a real NLE. The camera simulation method takes as long as pressing record.
Shooting techniques for the MiniDV era
- Zoom. Real DV shooters zoomed. A lot. Push in on subjects, pull out on scenes. Modern iPhone footage tends to hold static — that reads as modern.
- Framing. Hand-held, not stabilised. Consumer DV had OIS but nothing like phone gimbals. Small drift is period-correct.
- Exposure. Let the AGC breathe. Don't lock exposure. Real DV cameras adjusted continuously, sometimes visibly.
- Lighting. Indoor tungsten reads best — DV loved sodium and incandescent. Overcast daylight reads flat and modern.
- Audio. Use the camera's own mic (or a modelled one). External mics recorded off a boom read as modern.
- Date stamps. Optional. Real users often left them off. If you use one, get the format right for the era — MM/DD/YYYY on North American cameras, DD/MM/YYYY on European.
Common mistakes
- VHS artifacts on MiniDV footage. The most common tell of a fake. Real MiniDV never showed head-switch tear or YIQ rainbow crawl. Those are analogue signal chain artifacts; MiniDV is digital. Afterhours' VHS-83 simulation explicitly refuses to stack with the digital-tape stage for exactly this reason.
- Generic "camcorder" overlays. Fake date stamps, fake battery bars, fake REC dots layered on top of untouched iPhone video. Real chrome burns into the signal at capture time and inherits the pixel character of the format.
- Perfect exposure. Real DV cameras didn't nail exposure. Slight over- or underexposure in mixed light is period-authentic.
- Modern audio. iPhone microphones are cleaner and wider-band than DV mics. Untouched audio gives away the era.
- Vertical framing. Real MiniDV cameras had no reason to shoot vertical. If you're going for authentic era, use horizontal.
Full argument on why fake vintage looks fake is in Why Vintage Camera Apps Often Look Fake.
Related reading
- VHS Look on iPhone — different signal chain, different tell.
- Camera Simulation vs Filters — why the "camera vs filter" distinction matters for this exact use case.
- HDV-2000 — the HDV deck simulation.
- DV-90 — the consumer MiniDV camcorder simulation.
Frequently asked questions
What's the difference between MiniDV and HDV?
MiniDV is the tape format; HDV is a codec that uses the same tape at higher resolution.
Consumer MiniDV records SD (720×480 NTSC / 720×576 PAL) at 25 Mbps with 4:1:1 chroma subsampling. HDV records 1080p (1440×1080 anamorphic) at ~25 Mbps with 4:2:0 chroma via MPEG-2 encoding. Same physical cassette, different signals inside. HDV-era Handycams (2004-2010) shot both formats.
What's the difference between MiniDV and VHS?
Completely different signal chains. MiniDV is digital tape — GOP compression, macroblocking under motion, clean until it drops out. VHS is analogue composite — YIQ chroma bleed, luma smear, head-switch tear at the bottom of every frame.
Do not stack them. Real footage was either MiniDV or VHS. Apps that layer VHS defects on MiniDV footage read as obviously fake. See our guide on [Why Vintage Camera Apps Often Look Fake](/guides/why-vintage-camera-apps-look-fake).
Can iPhone shoot in 4:3 like a real MiniDV camcorder?
Native Camera doesn't offer 4:3 video framing. Afterhours' DV-90 defaults to a 4:3 SD-style capture with the MiniDV signal chain applied; HDV-2000 uses 16:9 HD for HDV-era content. Both are chosen at the camera level, not toggled in the OS.
Why does my footage look fake even with a MiniDV filter?
Because the look is only half the picture. Real MiniDV came from a camera whose autofocus lagged, whose zoom whined, whose AGC pumped in low light, and whose audio was 32 kHz / 12-bit consumer DV. A filter over an iPhone video keeps modern autofocus, modern audio, and modern motion cadence — the eye picks up the mismatch.
A camera simulation like DV-90 renders the signal chain at capture and keeps the era-appropriate motion characteristics. It's not perfect (nothing is; see our [Camera Simulation vs Filters](/guides/camera-simulation-vs-filter) guide for the honest limits), but it's better than an overlay.
How long can I shoot in HDV-2000?
60-second clip cap per recording, matching a reasonable HDV cassette segment length. Multiple clips per session — the cap is per recording, not per day.
Published by Afterhours Camera. Written by Peter Garcia. Corrections and questions: bricksandcanvas@gmail.com.